
Thrustmaster T.16000M FCS Extension Guide
This off-topic guide covers how to do a Thrustmaster FCS T.16000M extension. This is one of the biggest upgrades you can do for your virtual flying experience. Along with head tracking or VR, having controls that more closely mirror the “real deal” is a game-changer.
I initially envisioned this “hack” as a temporary solution to see if I liked having an extension. But it has held up so flawlessly, I’ve stuck with it.
So grab some duct tape because you can probably pull this off with a few items laying around in your garage. This guide will walk you through a DIY project, ultimately adding 6 inches to your stick.

But Why? Precision Matters!
Having held a pilot’s license personally, I can say one of my biggest gripes with flight simulators is the control input. Most desktop sticks just don’t mirror real life.
As an analogy, think about how easy it is to keep your real car in a lane as you drive. Now think about how hard it is to keep a car in a video game perfectly in a lane.
The problem is the controller; not the simulator. Even if you use an expensive gaming wheel, it probably only rotates around 90 degrees to the left and 90 degrees to the right. But in real life? Your steering wheel probably rotates between 900 to 1,200 degrees total.
That means you have 5x+ the level of precision in the real deal.
The same thing happens in an airplane. I’ve spent more years than I’d like to admit with simulators. When I first flew a real airplane, I was shocked by how easy it was to maneuver. The same principle is in play. In real life, you generally have much more precision. Of course, this discounts physical sensations and feedback you receive from the airplane and controls. But the fact remains, real-world controls generally give you a much wider range of motion.
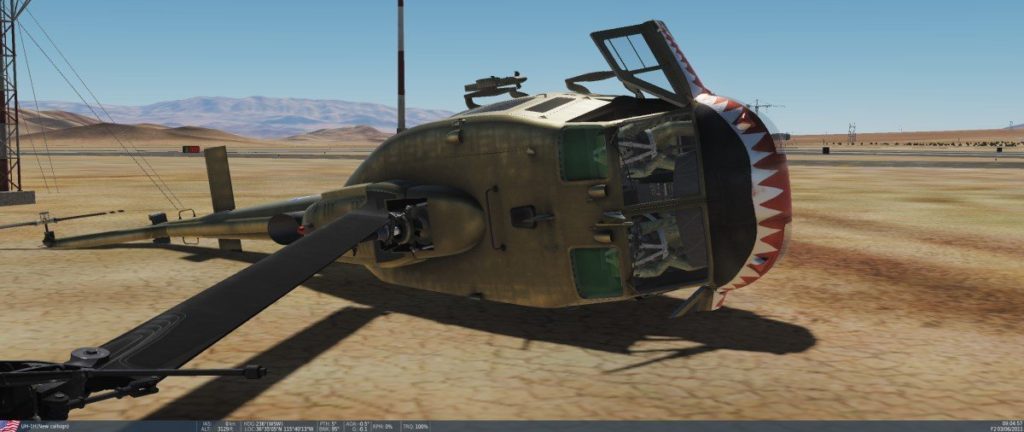
While I don’t have much time for flight sims these days, when I do, I spend my time in DCS F/A-18C. Talk about needing precision! Curves and dead zones can only take you so far when you try to land on a postage stamp.
Behold this GIF…
Stick and throttle action (x from r/aviation)
byu/grindbehind inhoggit
Notice how much deflection the pilot puts in the stick and how little the airplane moves.
Yes, there are aerodynamic and flight control systems factors at play, but this is not how stick action looks during my landings with a stock T.16000M FCS!
The Thrustmaster T.1600M FCS Needs an Extension!
Seeing that GIF pushed me over the edge.
I decided to rig something up for my mid-grade Thrustmaster T.16000M FCS. Indeed, this stick is actually very good for the price.
Given some of the mixed feedback on the Warthog, I’ve been hesitant to upgrade. And VKB and Virpil make some killer products, it’s just hard for me to justify that price point given the amount of time I actually spend flying around.
But boy have I been drooling over those stick extensions…
Since I’m not ready to cough up for one of these, it’s time to upgrade this sucker myself.
One problem though–it doesn’t seem anyone else has tried this and posted instructions. Google is not giving me anything useful.
So, in being a good citizen, here’s the approach I took…
Simple T.16000M Extension Guide
The good news is I was able to successfully extend my T.16000M with a few random items in my garage. I’m sure this can be done much more elegantly, but this solution works surprisingly well. It has far exceeded my expectations. It’s a hack, but it doesn’t feel like it.
Supplies Needed
- Screwdriver
- Zip ties
- Water bottle holder
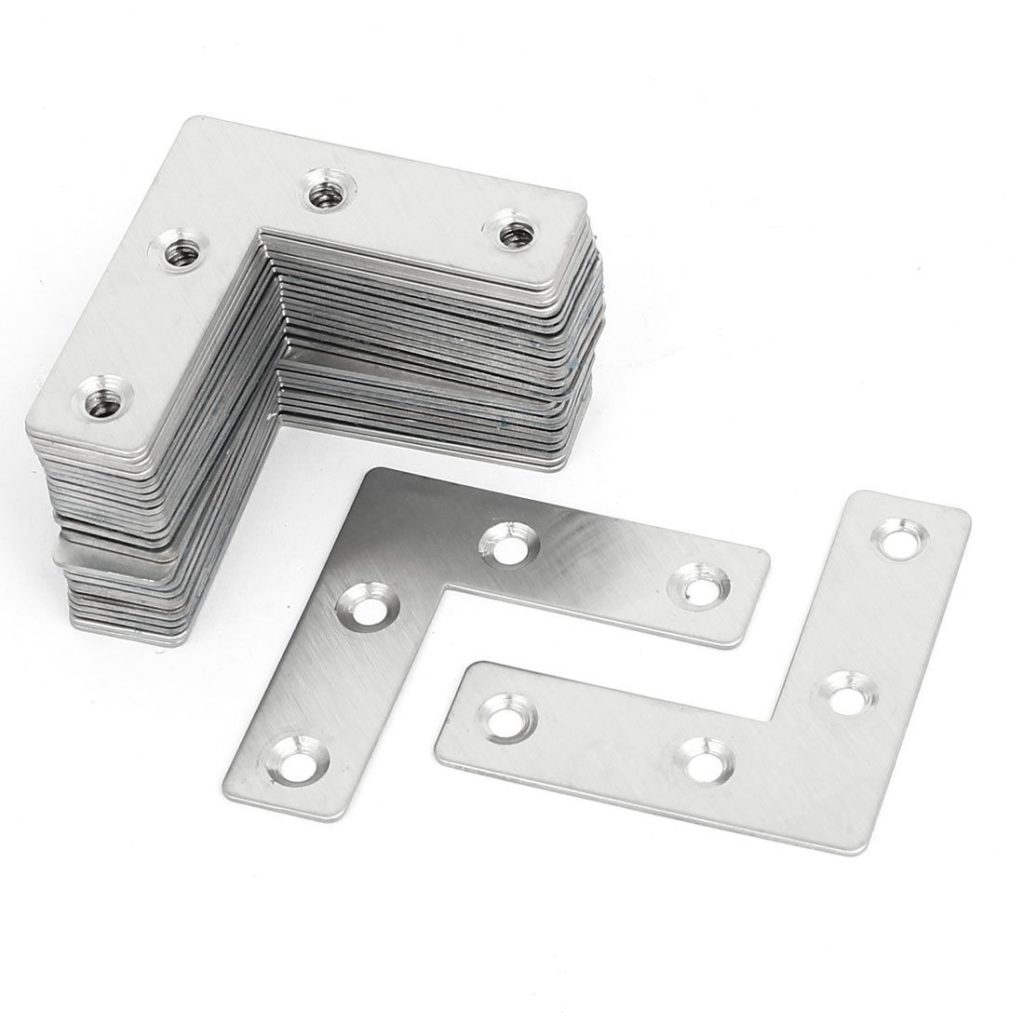
- Metal L brackets/corners
Skills Needed
[This area intentionally left blank]
Alright, let’s do this.
Step 1: Disassemble
The first step was to remove all of the screws in the base and along the handle. This allowed me to separate everything.

The one gotcha is there are very small rubber rings that go in between the stick buttons and the control board. It’s very easy to lose these and they fall out silently.
Danger: Work in a place where these rings won’t drop into the carpet. And be careful working around the buttons.
I had one ring slip out, which I didn’t realize until everything was put back together and zip tied. That’s another way of saying I’ve done this build twice now.
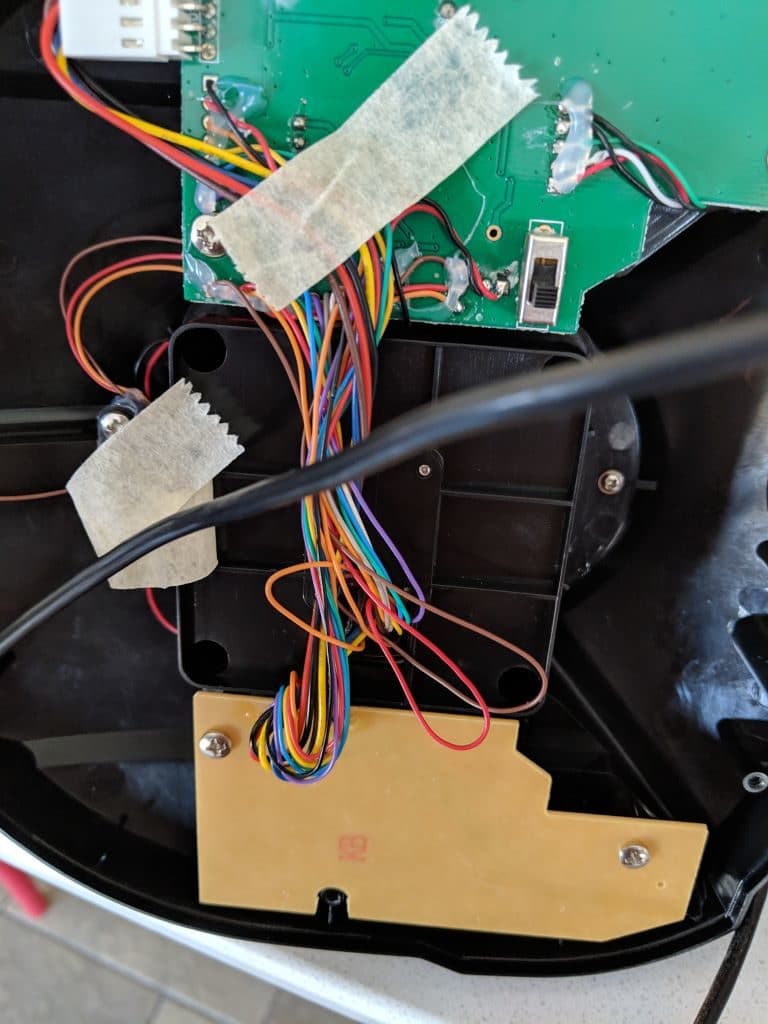
Step 2: Wiring (Easy!)
The big question was would the existing wiring be long enough to support an extension? I was nervous about this. I was prepared to splice and make my own extension, but I figured this probably introduced the most risk to the project.
To my delight, I found the wires were longer than needed.
In the base, I simply removed the tape. Then, out the stick end, I gently pulled the wires through. This meant no wire cutting. It’s as though they coiled enough extra wire for exactly this purpose.
Step 3: Planning the Extension
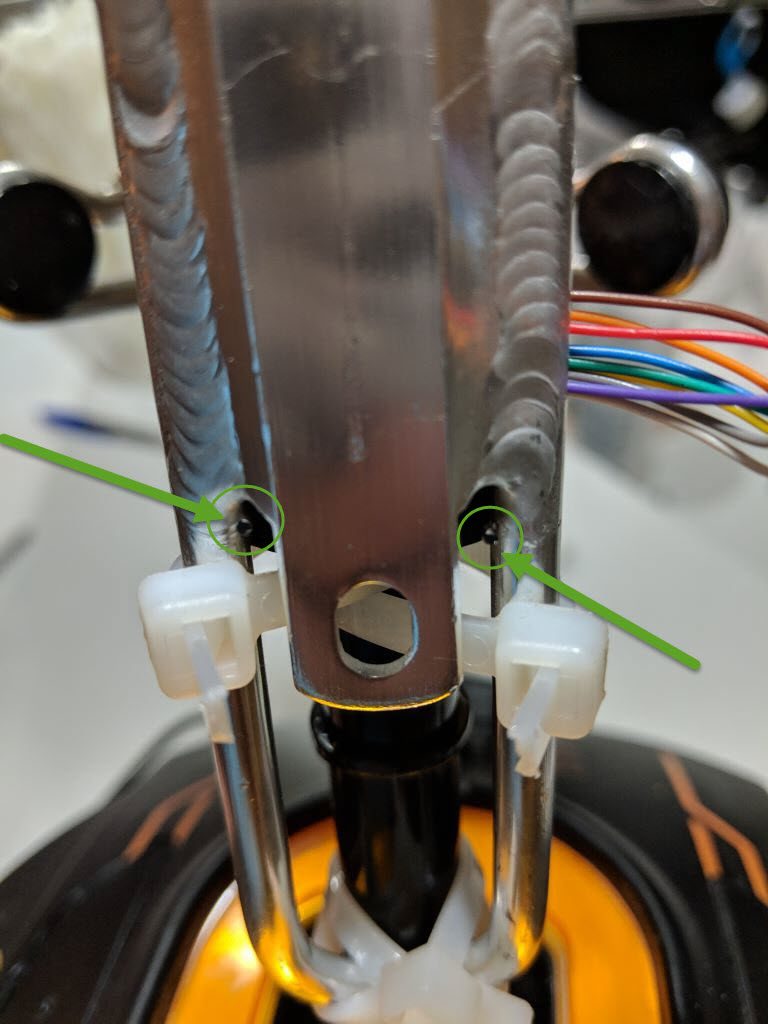
From there, I found two key attributes about the stick:
- There are two vertical grooves on the side. This means you can lock the stick and avoid slipping on the Z-axis.
- There is a small extrusion on the bottom of the stick. Likewise, this means you can lock up the stick on a different plane and thereby avoid slipping on the Y and X axes.
Without those two features, this build would not work.

There was another key element on the base/gimbal portion:
- A spring exists on the front of the protrusion. Whereas the two notes above mean no slippage on the stick side, these springs will be used to ensure no slippage from the base end.
Step 4: MacGyvering the Extension
I had several different PCV pipes from sprinkler systems laying around. I assumed I would use these, but I quickly found I didn’t have a good way to attach the pipes to either the base/gimbal or the stick.
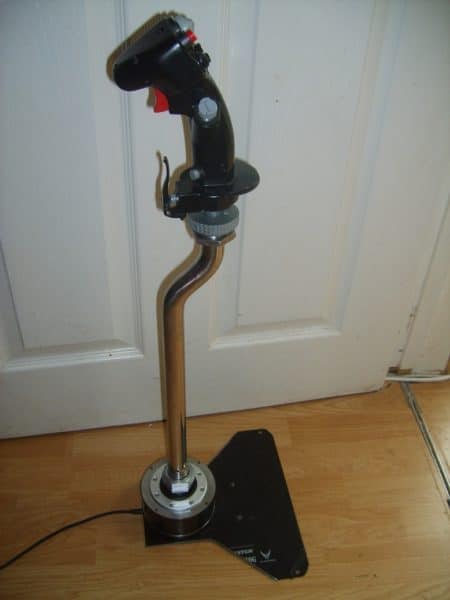
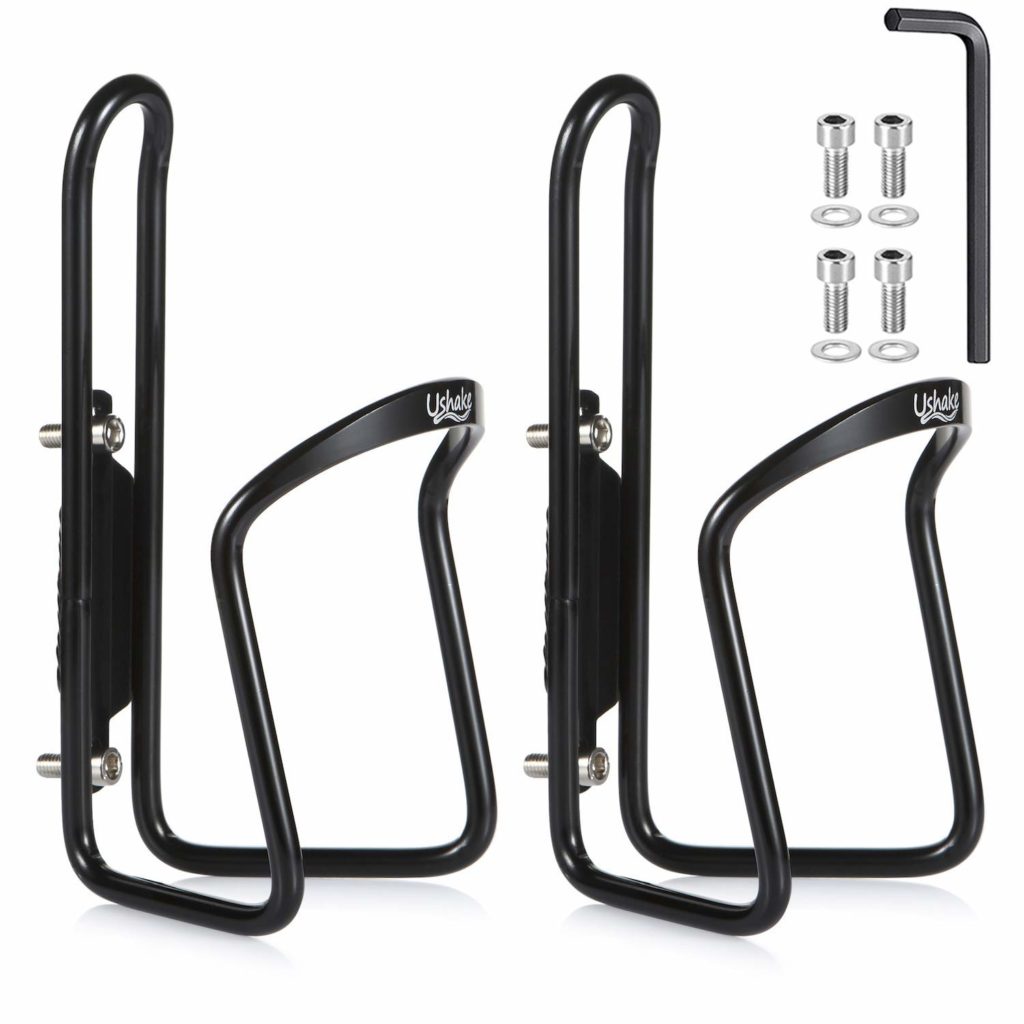
I tried a variety of household items but ended up finding a surprisingly perfect solution: a water bottle holder for a bicycle.
Let me show you just how perfect the water bottle holder is…
Note the two black protrusions that stick out above the upper zip tie and nestled right underneath the metal of the water bottle holder curves in this picture. Those little black protrusions are spring-loaded (as noted in the previous step) and help secure the holder in place. It’s literally a perfect match.
Get a water bottle holder. Or something massively better. If you find something better, please let me know in the comments below. Utilize the spring-loaded protrusion to stabilize the extension.
Step 4: Zip Ties for Days
Combined with zip ties and a few random pieces of metal, I had all I needed.
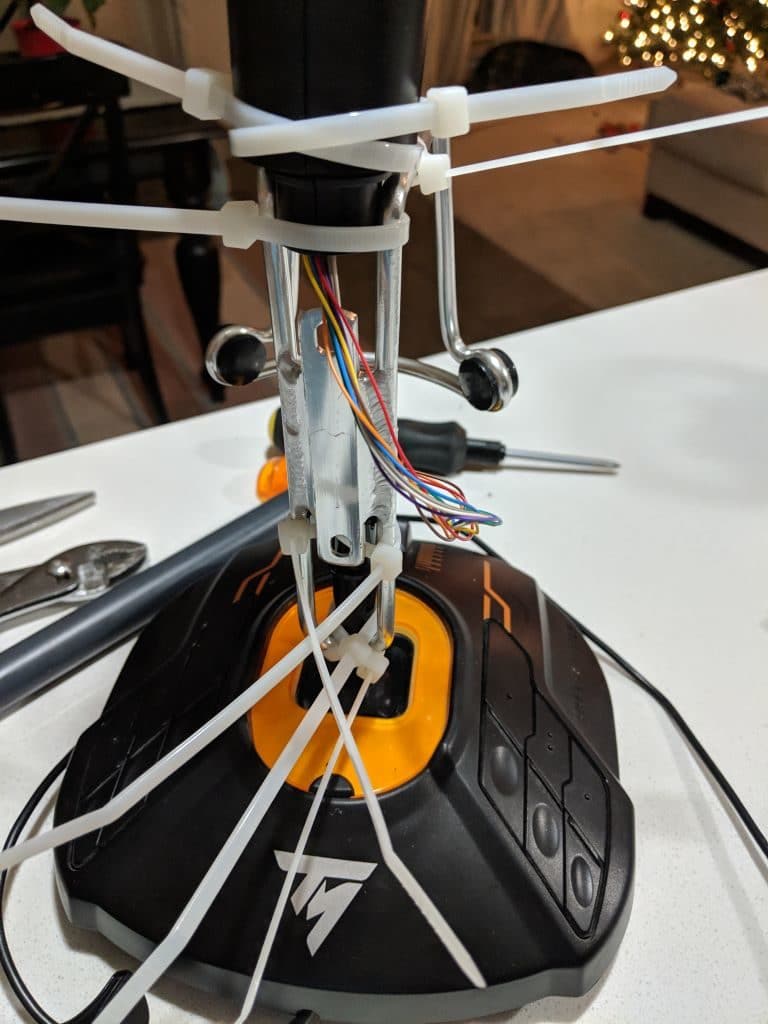
From here, my only job was to creatively use the metal and zip ties to lock the water bottle holder into the grooves and springs mentioned above.
The goal is to secure the stick into a rigid state. Since there is no formal attachment, you need to use these items to lock the stick in a way that eliminates any wiggling and slipping. Fortunately, this is pretty easy to do.
What’s the result?
Unbelievably perfect! It’s a little embarrassing to look at, but that couldn’t matter less. The flying experience is exceptional. It was a bigger change than I expected.
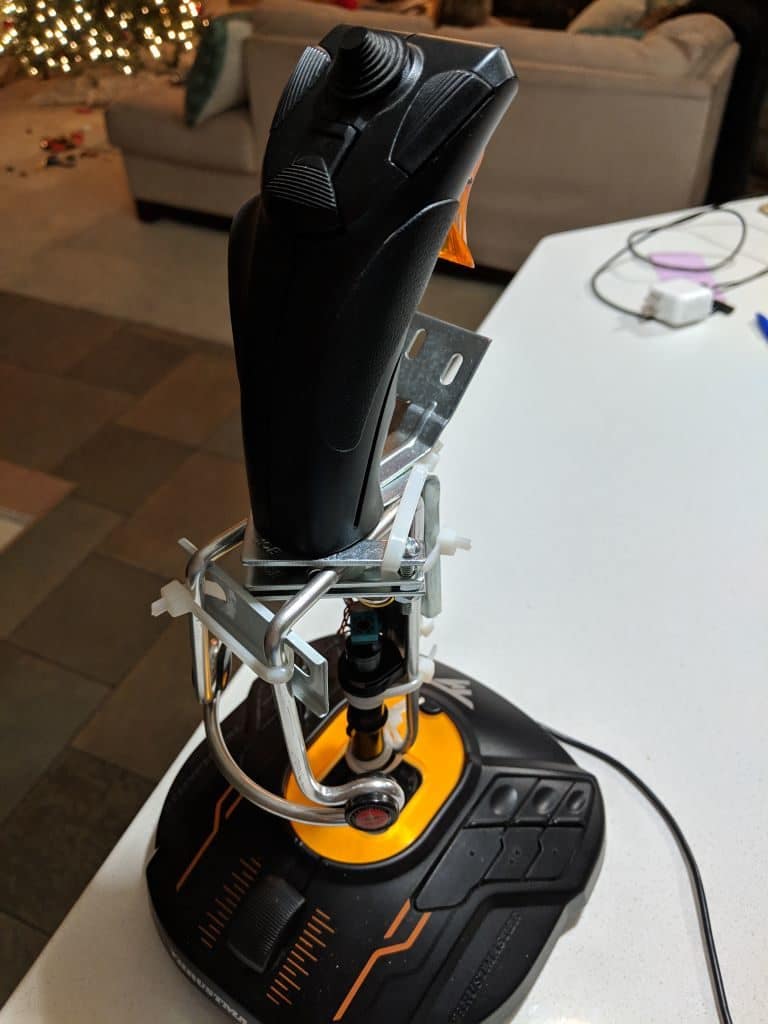
Maneuvering in DCS F/A-18C felt immediately natural. I can nail the centerline on deck. I can snuggle up in formations like a proper Blue Angel. I avoid overcorrections and wobble. Precision flying is fun. Goodbye curves and other band-aids.
Here’s me now…
If you’ve been on the fence about extending your flight stick, don’t wait any longer!
Questions
Does this hold up?
I’m happy to note that I am posting this 8 months after having made the change. It has held up fantastically. I still have no slippage. It still looks goofy but works flawlessly.
Does it look ugly?
Yes.
How are the ergonomics?
No complaints. Feels great.
Is it off balance?
No, I still use it one-handed and have no issues with it wobbling or tipping.
Do you have this on a mount?
I actually still use this on a desktop with no issues. But the T.16000M can be mounted if you want. It has holes built into the base for this.
Is that a Christmas tree in the background?
Yes. This was an eggnog-fueled venture.
Can I ask you another question?
Please! Hit me up in the comments below.
That’s an ingenious match!
Is this the J&D Water Bottle Cage? There’s an image inserted in the webpage as you mention it but appears to be an ad to another water bottle cage. Visual analysis led me to J&D of another colour. 🙂 Please confirm!
Ha, thanks–and sorry for the delay. I am not sure if it’s J&D. It doesn’t have that branding on it. I think most any will work. 🙂
Ah, actually, it was a Schwinn brand holder.
Thank you! I think that soon I will try this usefull/ugly upgrade. well done
Great! Good luck and let me know if you have any questions.
Excellent demonstration of a resourceful solution. You mentioned having some holiday eggnog to grease your problem solving skids. I’d need a 5th of whiskey on an empty stomach before tearing into my flight stick with any “confidence”.
Ha, yep! Keep me posted if you try to modify yours as well.
Exactly the issue I have been chewing over. UH1 Huey in DCS lacks refinement on the cyclic.
Your blog confirms that it’s worth the heartache to meddle with a perfectly working joystick.
My solution will be 3D printed or 3D printed joiners & pipe bent to shape.
Cables may need to be extended but that’s no real issue.
I’m certainly not paying over £100 odd quid for “other aftermarket” items.
It may be a while till I get back to you as I’m currently building a Spitfire joystick which I’m hoping has more input/feel due to its length from grip to axis.
Cheers for the info.
Pete UK.
“worth the heartache to meddle” << absolutely! I can confirm the extension is even more important for helicopters. Let us know how it goes!
How did you take apart the stick grip ?
There are just a bunch of screws down the side and more importantly at the base of the grip. Just make sure all are removed and it’ll pop apart. https://justingesso.com/thrustmaster-fcs-16000m-extension-guide/#Step_1_Disassemble
You’re a fucking legend 👍
Ha…glad it was useful.